

This DIY: Bunting tutorial is as easy as 1 2 3.
Step 1: Cut your laced burlap into triangles. You can make these as big or as small as you want. If you are getting uneven triangles try cutting a square of your burlap and then trim either side to make a triangle. Also you can cut as many triangle as you would like. I cut 8 and then ended up using only 7 because I liked the uneven look. It’s totally up to you.
Step 2: Add a line of hot glue to the flat edge of your triangle (This would be the bottom of the triangle). Make sure you add this to the back of the triangle as well so that the twine doesn’t show when you hang it up.
This is pictured below.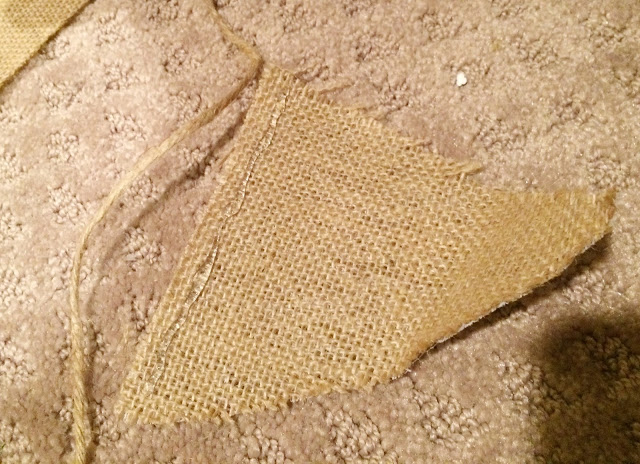

Step 3: Place your twine onto the hot glue. I usually let the glue cool just a second before I add the twine so that it sticks really good. I measured about an inch and a half between my triangles. You could also place them right next to each other if you are going for a more traditional look.

Ta-Da!

Bunting simple as 1 2 3! Enjoy. If you use this tutorial and want to share your project tag us on Instagram or Twitter at #KRoseStudioAtHome !
Happy creating & have a lovely Wednesday.
xoxo
K. Rose
Love this. And so simple!
This is Christina btw